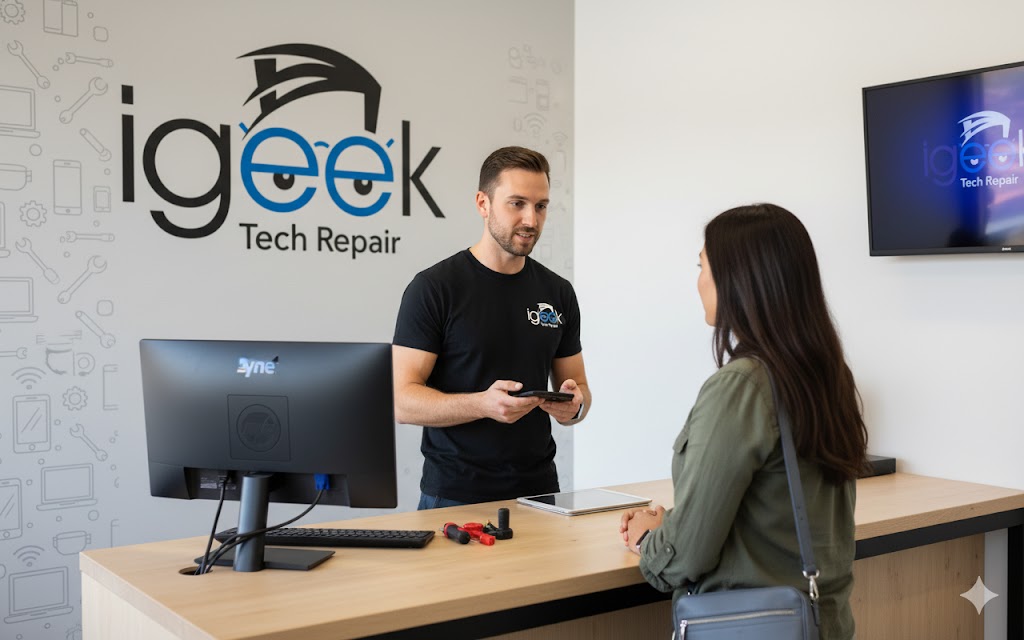
iPhone repair in Elk Grove
Broken iPhone? Our trusted experts can provide reliable repairs—fast.
priced upfront and applied to your repair
Most repairs done as soon as the same day
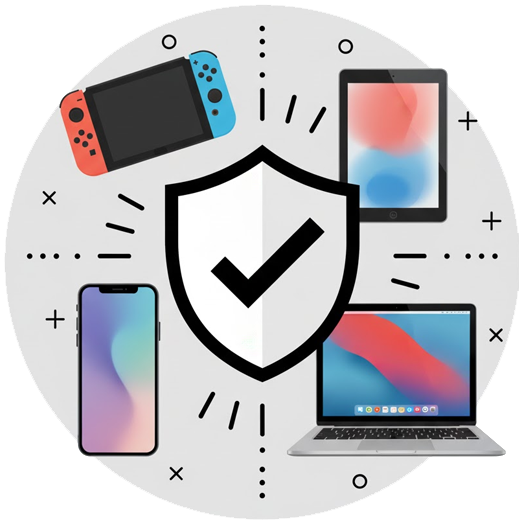
Every repair backed by our
Expert technicians for every major brand
Experienced Technicians
Elk Grove iPhone Repair, Battery Replacement, Cracked Screen Fixes, and More
Your iPhone goes everywhere with you, so when the screen cracks or the battery starts dying by lunchtime, you need it fixed fast — and you need it done right. iGeek Tech Repair's experienced technicians specialize in iPhone repairs across every model from iPhone 6 through the iPhone 17 family, using OEM-equivalent parts that preserve Face ID, True Tone, and the rest of what makes an iPhone an iPhone.
We handle every common iPhone repair: shattered displays, swollen or worn-out batteries, broken charging ports, rear-camera glass, water damage, Face ID and Touch ID failures, and back-glass repairs on supported models. Most fixes are completed the same day. You'll get upfront pricing before any work begins.
Whether you're nursing along an iPhone 11 or you just dropped a brand-new iPhone 17 Pro, our experienced team gives you honest options — repair, upgrade, or restore. Every repair is backed by our 30-day warranty, so if anything goes wrong with our work, we make it right at no cost.
iPhone repairs are simple at iGeek
1. Visit our location
Visit our Elk Grove store for immediate help, or schedule a repair online at your convenience.
2. Get quality repairs
We'll run a on your iphone and provide honest pricing upfront for fast, quality repairs.

3. Sit back and relax
We'll contact you when the repair is done so you can enjoy your iphone—backed by our 30-day warranty.
We fix every iPhone issue — quick
Screen repair
Water damage repair
Back glass repair
Battery replacement
Charging port repair
Camera repair
Microphone or speaker repair
Front camera repair
Volume button repair
Headphone jack repair
Power button repair
Loudspeaker repair
Wi-Fi and Bluetooth repair
Home button repair
Vibrator repair
We make iPhone repairs easy
Fast, local repairs in Elk Grove
- Trusted local professionals. Our expert technicians live and work in your community.
- Speedy service. Most repairs done as soon as same day.
- Upfront pricing. Know the cost before we start—your diagnostic applies to the repair.
- Your choice of parts. Economy aftermarket, premium aftermarket, or genuine OEM on every repair.
- 30-day warranty. It comes standard with most repairs.
Your iPhone is in great hands
Don't trust your iPhone to just anyone. Quality iPhone repairs, guaranteed - just read our reviews.
iPhone 11 (charging port repair)
IGeek is a great place to get your iPhone repaired. I thought that I needed a new charging port for my iPhone 11, but they were able to make my phone charge by just cleaning out the port. I highly recommend iGeek! Trenton always does a great job.
iPhone 11 (battery replacement)
Had an iPhone 11 battery replacement, the battery warped some of the interior but wasn’t a problem for Ryan the experts at the office. 10/10 would go to again
iPhone 15 (screen replacement)
Screen on my iPhone 15 was busted and went black after water got inside the cracks – Ryan fixed it up within 45 minutes and it looks brand new. Thanks!!
iPhone 11 (battery replacement)
Exceptional service. My iPhone 11 battery was dead. They analyzed my phone and found it only needed a new battery. No upgrade needed $89 out the door. I recommend them for their fairness, expertise and integrity.
iPhone 17 Pro Max (screen replacement)
I had an amazing experience with iGeek! Hammad helped me fix my iPhone 17 Pro Max screen and I honestly couldn’t be more grateful. I was so stressed about it, but he completely saved the day by fixing it within 2 hours, same day. The service was fast, professional, and stress-free. Highly recommend iGeek and Hammad if you need reliable and quick phone repair!
iPhone repair
Used iGeek Repair to fix my iPhone. When I called around they offered a better service for the same cost as their competition by replacing my entire rear bezel vs. just repairing the broken glass, which was the issue I had. Unfortunately, they must have bumped something as when I got the phone back the Face ID didn't work. But I understand things happen, stilling giving 5 Stars as they got me in fixed the issue very quickly and didn't give me any grief about it. Thank you iGeek!
iPhone (charging port repair)
This place is amazing can’t recommend it enough. The charging port on my iPhone wasn’t working. An associate named was Ryan fixed my phone free of charge and I was in and out in less than 5 minutes
iPhone (screen replacement)
My wife brought my damaged iphone screen in and got several repair options but end up just replacing the screen. Got it repaired within hours and even got a free screen protector! what awesome service, thank you so much!
iGeek trusted for 25,000 repairs and counting.
Need an iPhone repair? Leave it to us
You deserve an iPhone that just works. So when something goes wrong — cracked screen, dying battery, Face ID issue — our in-store experts are here with fast, affordable fixes.
iPhone repair services in Elk Grove, CA
iGeek Tech Repair handles every iPhone repair you can name: screen replacement, battery swap, charging-port rebuild, water damage recovery, rear-camera glass, back-glass repair, Face ID and Touch ID restoration. We service every iPhone from the iPhone 6 lineage through the iPhone 17 family, including SE, Air, and Mini variants. Walk in or schedule online — most iPhone repairs are completed the same day.
Why choose iGeek for iPhone repair
Our experienced technicians work on iPhones every day. We use OEM and OEM-equivalent parts that preserve True Tone calibration, Face ID functionality, and the original tactile feel of the device. We're upfront about what we can and can't do at the board level — and when an issue is software, we tell you straight rather than upselling you on a repair you don't need.
Comprehensive iPhone repair solutions
iPhone screen replacement. Cracked glass? Dead pixels? Touch not registering? We replace screens on every iPhone model with high-quality OEM-equivalent OLED and LCD displays, often inside an hour. True Tone calibration preserved on supported models.
iPhone battery replacement. If your iPhone dies before dinner, the battery is probably under 80% health. We swap it for a new one and reset the cycle count. Battery Health % displays correctly after our replacement on most models.
iPhone charging port repair. Lightning and USB-C ports collect lint and bend pins. Lint and debris cleaning is quick and inexpensive; if pins are bent or the port is damaged — which is most cases — we'll quote a full port repair, no logic board replacement required.
iPhone water damage repair. Don't power it on, and don't put it in rice. Bring it in within 24 hours. We disassemble the device, clean corrosion ultrasonically, and rebuild what's repairable. We'll tell you the odds honestly before we start.
iPhone camera, speaker, and back-glass repairs. Rear camera lens cracked? Earpiece muffled? Back glass shattered? We handle all of it with iPhone-specific tooling and parts.
Expert iPhone services beyond repair
We also handle iPhone data transfers (old phone to new), photo and contact recovery from damaged devices, iCloud and Apple ID troubleshooting, and Wi-Fi/Bluetooth connectivity issues. If your iPhone is acting weird and you're not sure if it's hardware or software, our diagnostics start at $49, apply toward your repair, and come with a straight answer.
Customer-first service features
Most iPhone repairs are done same-day, even for walk-ins. Diagnostics start at $49, applied toward your repair if you proceed. Our work is backed by a 30-day warranty valid at our Elk Grove location — if our repair fails, we fix it at no charge. We'll also review legitimate local quotes and do our best to match comparable parts and service.
How fast can you fix my iPhone, and what does it cost?
How fast? Most iPhone screen and battery repairs are done in 45 minutes or less. Back-glass and board-level fixes take longer, but we'll give you an honest timeline upfront.
How much? iPhone repair pricing depends on the model and the part. Newer Pro models cost more than older models. Diagnostics start at $49, applied toward your repair if you proceed, and our quote is always upfront — no surprises at pickup.
How can we help you today?
No matter the device, our Elk Grove experts can help get you back up and running fast. Here are more of our repair services:
Cell Phone Repair
Same-day smartphone repair in Elk Grove, CA. Screen replacement, battery, charging port, water damage and more for iPhone, Samsung Galaxy, Google Pixel and other major brands.
Samsung Galaxy Repair
Same-day Samsung Galaxy repair in Elk Grove, CA. AMOLED screen replacement, battery, charging port, S Pen, water damage and more for Galaxy S, Note, Z Fold and Z Flip lineups.
Phone Screen Repair
Same-day phone screen repair and replacement in Elk Grove, CA. iPhone, Samsung Galaxy, Google Pixel and other major brands. OEM-equivalent OLED and LCD panels, 30-day warranty.
Google Pixel Repair
Same-day Google Pixel repair in Elk Grove, CA. Screen replacement, battery, charging port, camera, Tensor chip diagnostics and more for every Pixel model.
Android Repair
Same-day Android phone repair in Elk Grove, CA. Screen replacement, battery, charging port, water damage and more across Samsung Galaxy, Google Pixel, Motorola, LG, OnePlus and other Android brands.
Apple Device Repair
Apple device repair in Elk Grove, CA. iPhone, iPad, MacBook Pro, MacBook Air, iMac, Mac mini, Mac Studio, Mac Pro. OEM-equivalent parts, same-day where possible, 30-day warranty.
Phone & Tablet Repair
Mobile device repair in Elk Grove, CA. Every phone and tablet — iPhone, Samsung Galaxy, Google Pixel, Android, iPad, and Android tablets. Screen, battery, charging port, water damage and more.
iPad Repair
Same-day iPad repair in Elk Grove, CA. Screen replacement, battery, charging port, Apple Pencil pairing, water damage and more for iPad Pro, iPad Air, iPad mini, and standard iPad.
Android Tablet Repair
Same-day Android tablet repair in Elk Grove, CA. Samsung Galaxy Tab, Lenovo, Amazon Fire and other Android tablets. Screen, battery, charging port, water damage and more.
MacBook Repair
Same-day MacBook repair in Elk Grove, CA. Screen replacement, battery, keyboard, trackpad, hinge, logic board, water damage and more for MacBook Pro and Air, Apple Silicon and Intel.
Laptop Repair
Same-day Windows laptop repair in Elk Grove, CA. Dell, HP, Lenovo, Asus, Acer and other major brands. Screen, battery, keyboard, hinge, motherboard and more.
Computer Repair
Computer and laptop repair in Elk Grove, CA. MacBook, iMac, Mac mini, Mac Studio, Mac Pro, Windows laptops (Dell, HP, Lenovo, Asus, Acer), and desktop PCs. Screen, battery, keyboard, motherboard and more.
Upfront pricing
Know the cost before we start. Your diagnostic fee ($49–$99, depending on the device) is applied to the repair if you go ahead. If more is needed, we'll do .
Your choice of parts
Economy aftermarket, premium aftermarket, or genuine OEM — we offer all three for every repair, so you pick the price and quality that fit.
Same-day service
Need your device back fast? Most of our repairs are done as soon as the same day.
30-day warranty
We offer a on most repairs. If the original repair fails within that window, we'll fix it for FREE.