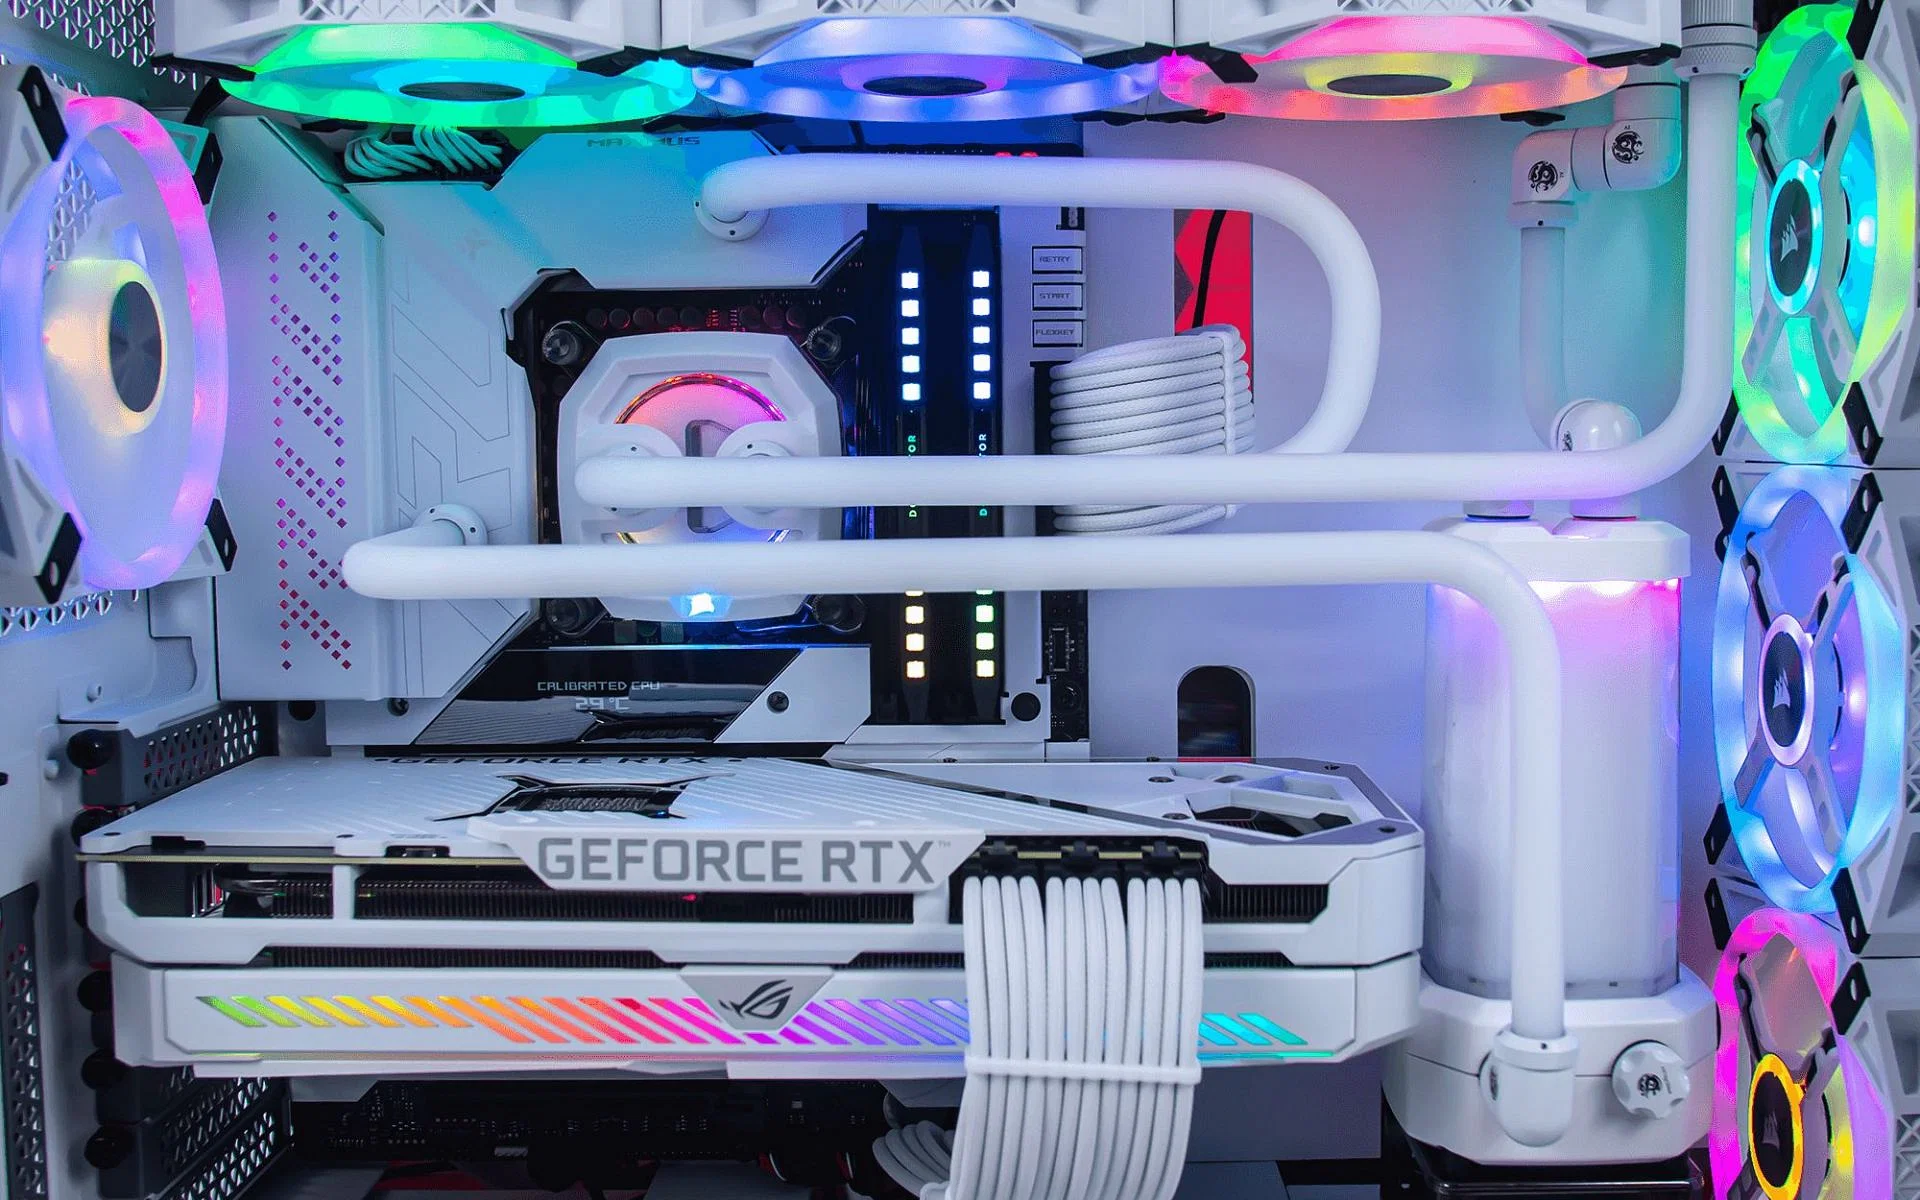
Building Your Own Custom Gaming PC
Building a custom gaming PC can be a thrilling journey. It’s a path that combines technical knowledge with personal creativity.

This guide is designed to help you navigate this journey. Whether you’re a seasoned tech enthusiast or a beginner, you’ll find valuable insights here.
We’ll delve into the core components of a gaming PC. We’ll discuss CPUs, GPUs, RAM, motherboards, power supplies, storage options, and cooling systems.
You’ll learn how to choose the right components for your needs. We’ll also cover the aesthetic aspects of PC building, including custom PC cases.
Finally, we’ll provide a step-by-step build guide. You’ll learn how to assemble your gaming PC, troubleshoot issues, and maintain your setup.
Welcome to the world of gaming PC customization. Let’s start building your dream machine.
Why Build a Custom Gaming PC?
Building a custom gaming PC is more than just a hobby. It’s a way to create a machine that perfectly fits your gaming needs and style.

There are several reasons why you might want to build your own gaming PC:
- Performance: Custom-built PCs can deliver superior performance compared to pre-built machines. You can choose high-end components that match your gaming requirements.
- Cost-effectiveness: Building your own PC can often be more cost-effective. You can select components based on your budget and avoid paying for unnecessary features.
- Customization: A custom PC allows you to express your personal style. From custom PC cases to RGB lighting, the aesthetic possibilities are endless.
- Upgradeability: With a custom PC, you can easily upgrade individual components. This makes your machine future-proof and adaptable to new gaming trends.
- Learning Experience: Building a PC can be a rewarding learning experience. It gives you a deeper understanding of how your computer works.
In the following sections, we’ll guide you through the process of building your own custom gaming PC. Let’s start by understanding the core components of a gaming PC.
Understanding PC Components
Building a custom gaming PC starts with understanding the core components. Each part plays a crucial role in the overall performance and functionality of your machine.

The Central Processing Unit (CPU), Graphics Processing Unit (GPU), and Random Access Memory (RAM) are the heart of your gaming PC. They handle the processing and rendering of your games. The storage solutions, such as Solid State Drives (SSDs) and Hard Disk Drives (HDDs), store your games and other data. The motherboard acts as the backbone, connecting all the components together. The Power Supply Unit (PSU) provides the necessary power, and the cooling system keeps everything running smoothly.
Let’s dive deeper into each of these components.
The Central Processing Unit (CPU)
The CPU is the brain of your gaming PC. It handles most of the calculations your computer performs.
Choosing the right CPU depends on your gaming needs. For high-end gaming, a multi-core processor with high clock speeds is ideal. For casual gaming, a mid-range CPU should suffice. Remember, a more powerful CPU means more heat, so consider a good cooling solution.
The Graphics Processing Unit (GPU)
The GPU is responsible for rendering the graphics in your games. It’s one of the most important components for a gaming PC.

A powerful GPU can handle high-resolution games and graphic-intensive tasks. Like the CPU, the GPU also generates heat, so proper cooling is essential. Also, ensure your PSU can supply enough power for your chosen GPU.
Memory (RAM)
RAM temporarily stores data that the CPU uses. More RAM allows your PC to handle more tasks simultaneously.
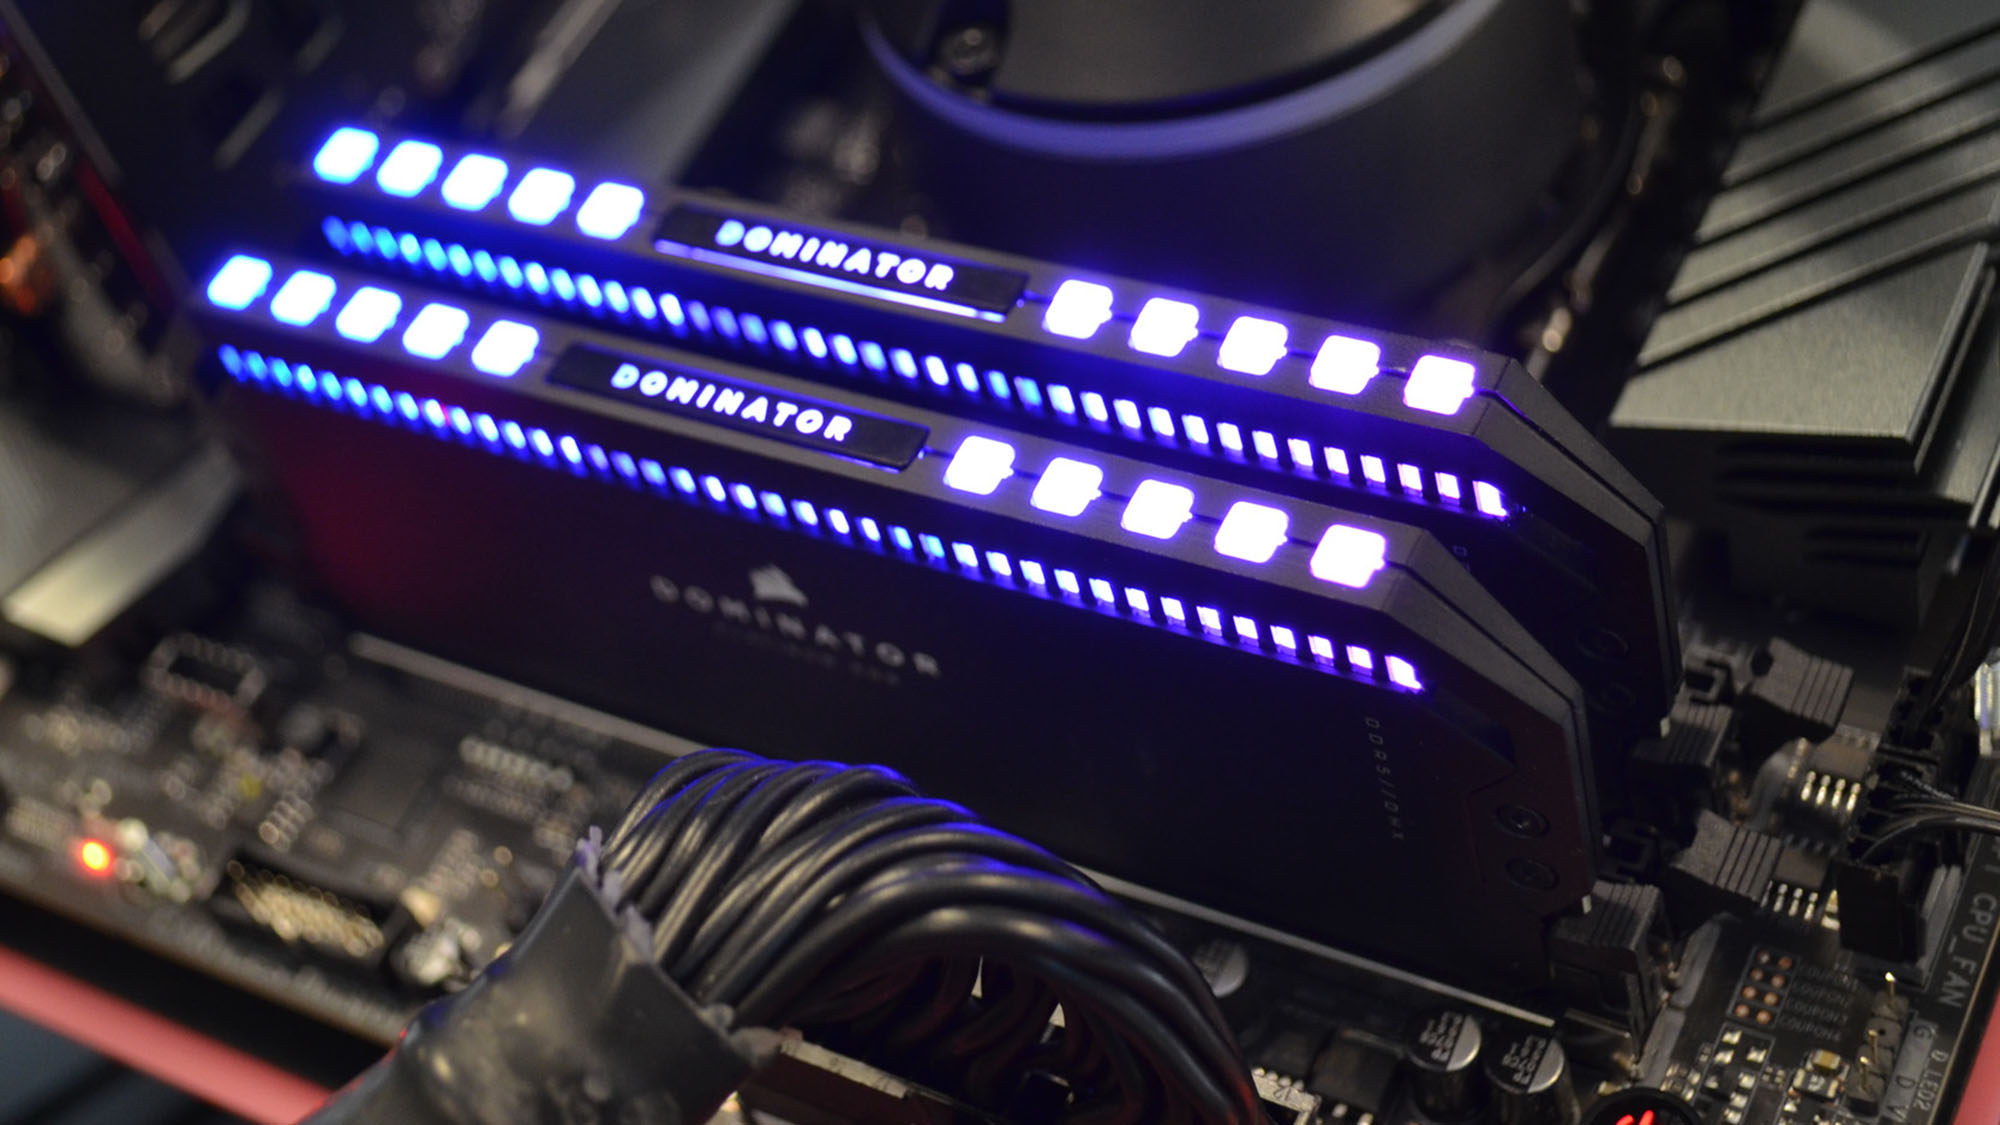
For gaming, 16GB of RAM is usually enough. However, if you plan to do heavy multitasking or run memory-intensive games, consider 32GB or more.
Storage Solutions: SSDs and HDDs
Your storage solution holds your operating system, games, and other files. SSDs are faster but more expensive, while HDDs offer more storage for less money.
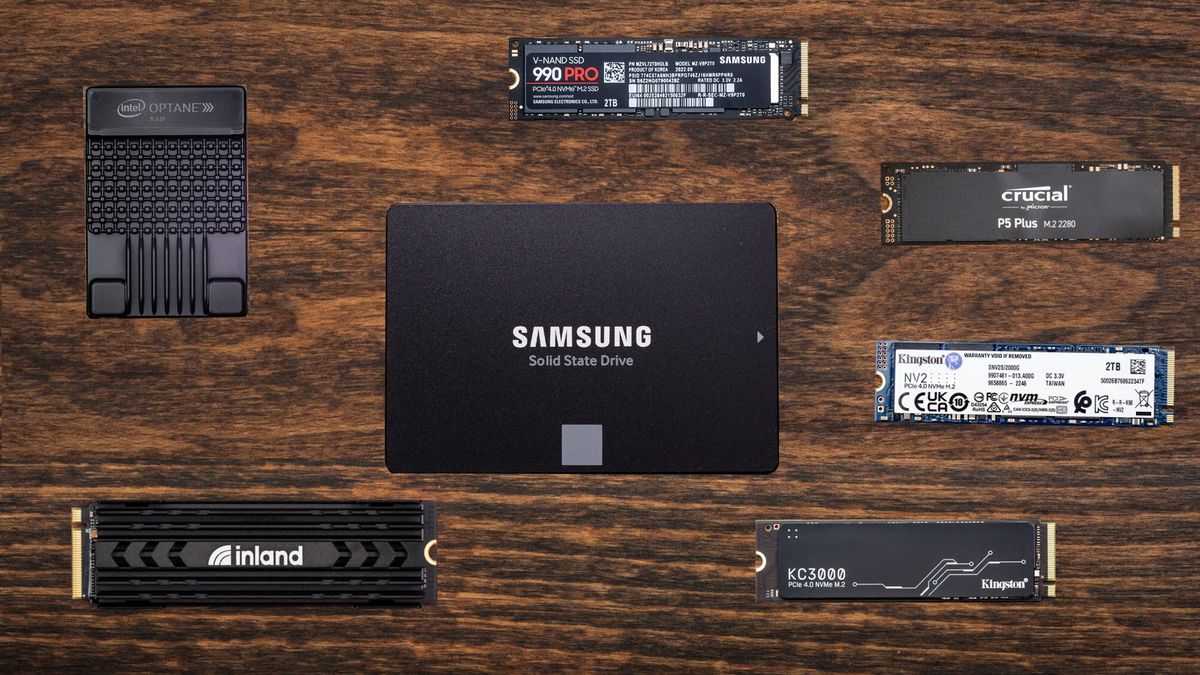
For a gaming PC, consider using an SSD for your operating system and frequently played games. You can use an HDD for additional storage.
The Motherboard
The motherboard connects all your components. It determines what type of CPU, RAM, and other components you can use.

When choosing a motherboard, consider its size, compatibility with your other components, and future upgrade options.
Power Supply Unit (PSU)
The PSU supplies power to all your components. It’s crucial to choose a PSU with enough wattage to support your components.
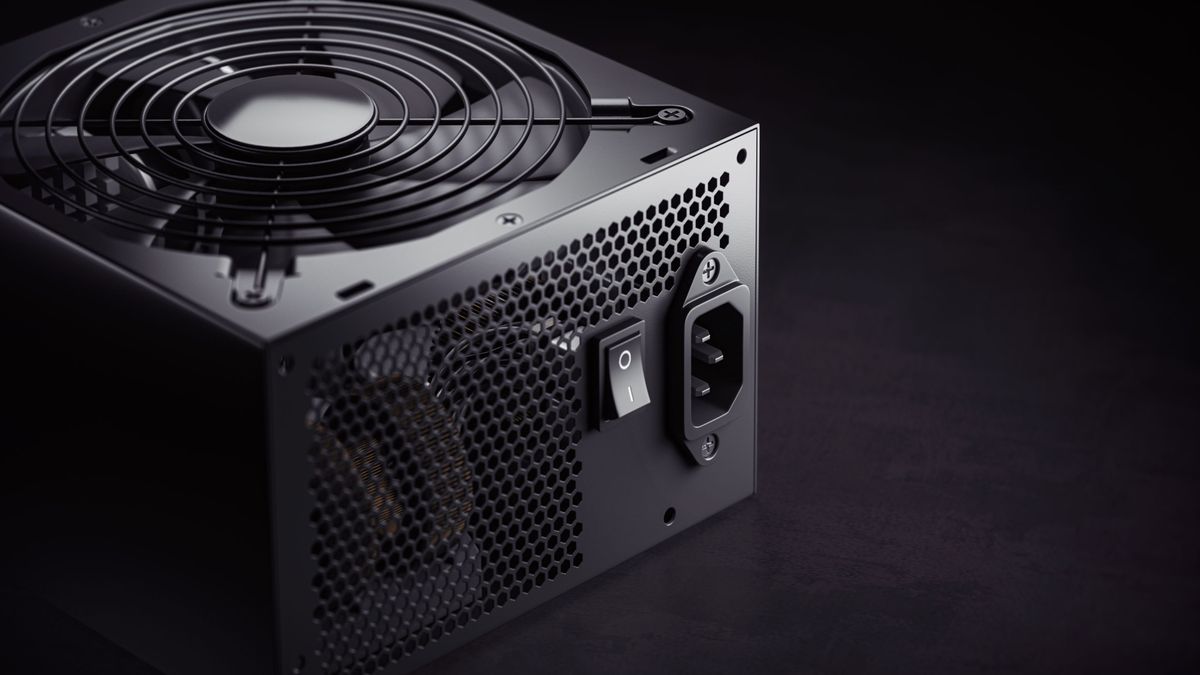
Consider a PSU with higher efficiency ratings for better energy usage. Also, a modular PSU can help with cable management.
Cooling Systems: Air and Liquid
Keeping your components cool is crucial for performance and longevity. Air cooling is more common and affordable, while liquid cooling is more efficient but complex.

Choose a cooling solution based on your CPU and GPU’s heat output, your budget, and your comfort with installation.
Choosing the Right Case and Aesthetics
The case houses all your components. It’s not just about looks; the right case can improve your PC’s performance and lifespan.
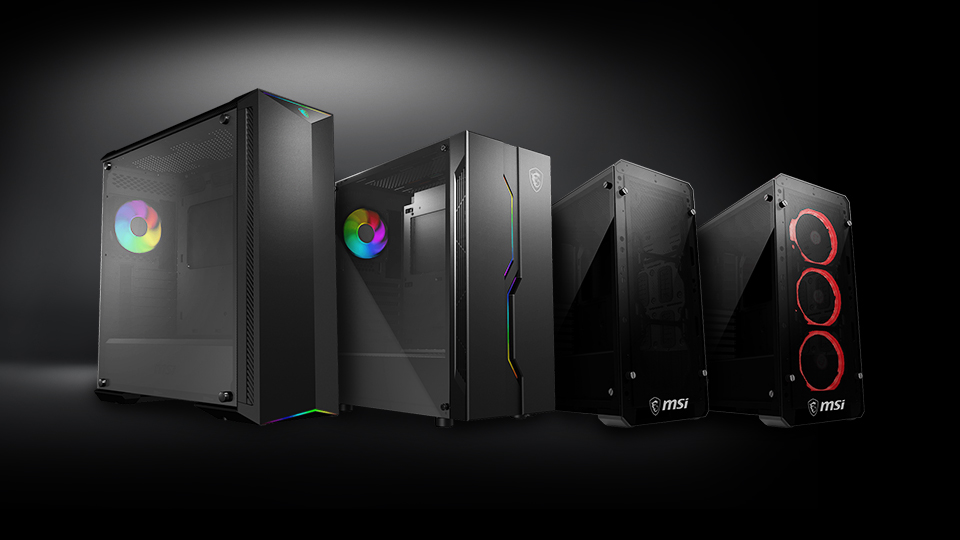
Cases come in different sizes, known as form factors. The form factor determines what size of motherboard and how many components the case can hold. Make sure your case can accommodate all your components and has room for airflow.
Aesthetics are also important for a custom gaming PC. Many cases come with features like glass panels, RGB lighting, and sleek designs. Choose a case that matches your personal style.
Remember, a good case should also have options for cable management. This helps keep your build clean and improves airflow.
Finally, consider the case’s build quality. A sturdy case can protect your components from damage and reduce noise.
Planning Your Build: Compatibility and Budgeting
Before you start buying components, it’s crucial to plan your build. This involves checking compatibility and setting a budget.
Compatibility is key in a custom PC build. Not all components work together. For instance, your CPU and motherboard must have the same socket type. Your RAM needs to be compatible with your motherboard as well.
Budgeting is another important aspect. Custom gaming PCs can range from a few hundred to several thousand dollars. Determine how much you’re willing to spend. Then allocate your budget across different components based on your gaming needs.
Here are some general tips for budgeting:
- Spend more on the CPU and GPU. These have the most impact on gaming performance.
- Don’t skimp on the power supply. A poor-quality PSU can damage your components.
- Invest in a good-quality case. It can last through multiple upgrades.
- Balance your spending. Don’t overspend on one component at the expense of others.
Remember, building a custom gaming PC is a balance between performance, aesthetics, and cost. Plan carefully to get the most out of your budget.
Step-by-Step Assembly Guide
Building a custom gaming PC can seem daunting. But with the right guidance, it’s a rewarding process. Here’s a step-by-step guide to help you through it.
Preparing Your Workspace
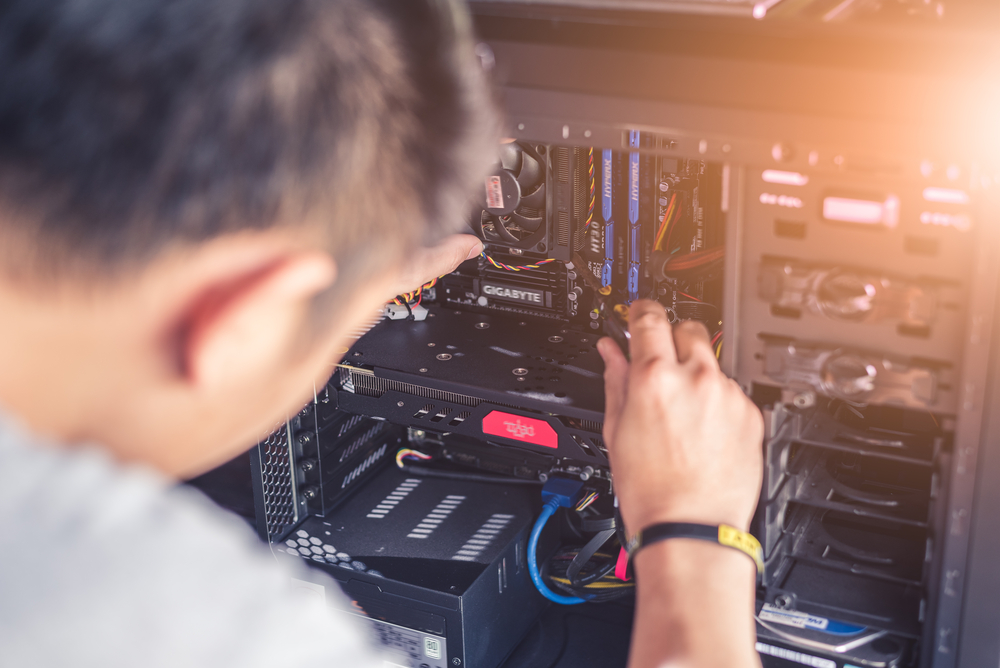
Start by preparing your workspace. Choose a clean, well-lit area with plenty of space. Make sure it’s free of static electricity.
Gather all your components and tools. You’ll need a screwdriver, some thermal paste, and an anti-static wrist strap. Keep your component manuals close for reference.
Installing the CPU
Begin with the CPU. Open the CPU socket on the motherboard. Align the CPU with the socket, and gently place it in.
Lock the CPU into place. Apply a small amount of thermal paste on the CPU. This aids in heat transfer.
Installing the GPU
Next, install the GPU. Locate the PCIe slot on the motherboard. Align the GPU with the slot and push it in gently.
Secure the GPU with the provided screws. Connect the power cables from the PSU to the GPU.
Installing RAM
Now, install the RAM. Open the clips on the RAM slots on the motherboard. Align the RAM sticks with the slots and push them in until the clips close.
Ensure the RAM is securely in place. It’s crucial for system performance.
Setting Up Storage
Next, set up your storage. If you’re using an SSD, locate the M.2 slot on the motherboard. Insert the SSD into the slot and secure it with a screw.
For HDDs, locate the drive bays in your case. Slide the HDD into a bay and secure it with screws. Connect the power and data cables.
Motherboard and PSU Installation
Now, install the motherboard into the case. Align it with the standoffs and secure it with screws. Be careful not to overtighten.
Install the PSU in its designated spot in the case. Secure it with screws and connect the power cables to the motherboard.
Cooling System Setup
Next, set up your cooling system. If you’re using an air cooler, attach it to the CPU. Secure it with the provided brackets and screws.
For liquid cooling, mount the radiator in the case. Attach the cooling block to the CPU. Connect the fans to the radiator and the pump to the power supply.
Finalizing the Build
Finally, connect all remaining cables. This includes the case fans, front panel connectors, and any RGB lighting. Double-check all connections.
Close the case. Connect your monitor, keyboard, and mouse. Power on your new custom gaming PC. Enjoy the fruits of your labor.
Post-Build Steps
After assembling your gaming PC, there are a few more steps. These ensure your system is running smoothly. Let’s walk through them.
Testing and Troubleshooting
First, you’ll want to test your build. Power on your PC and monitor the boot process. Look for any error messages or unusual noises.
If your PC doesn’t boot, don’t panic. Check all your connections. Make sure your RAM and GPU are seated properly. Consult your motherboard manual for troubleshooting tips.
If your PC boots successfully, enter the BIOS/UEFI. Check that all your components are detected. Set your boot order to start from your primary storage device.
Installing the Operating System
Next, install your operating system. For most gamers, this will be Windows. You’ll need a bootable USB drive with the Windows installer.
Follow the on-screen prompts to install Windows. Once installed, you’ll be guided through the initial setup. This includes creating a user account and setting your time zone.
Driver Installation and Updates
After installing your OS, install your drivers. These are software that help your hardware communicate with your OS. You’ll need drivers for your GPU, motherboard, and any peripherals.
You can find these drivers on the manufacturer’s website. Download and install them. Restart your PC after each installation.
Keep your drivers updated. This ensures optimal performance and security. Most drivers can be set to update automatically.
Performance Benchmarking
Finally, benchmark your PC. This tests your system’s performance. It can help identify any potential issues.
Use benchmarking software like 3DMark or Cinebench. Run the tests and compare your results with similar systems. If your scores are significantly lower, there may be a problem.
Remember, building a custom gaming PC is a journey. Take your time, enjoy the process, and learn along the way. Happy building!
Maintenance and Upgrades
Maintaining your custom gaming PC is crucial. Regular maintenance ensures optimal performance. It also extends the life of your components.
Start with cleaning. Dust can clog fans and cause overheating. Use compressed air to clean your PC every few months. Be gentle to avoid damaging components.
Software maintenance is also important. Regularly update your operating system and drivers. This keeps your PC running smoothly. It also protects against security threats.
Over time, you may want to upgrade your PC. This is one of the benefits of a custom build. You can swap out components as needed. Always check compatibility before buying new parts.
Remember, a well-maintained PC is a happy PC. Regular care and upgrades will keep your gaming experience top-notch. Enjoy the journey of PC ownership.
Additional Resources and Community Support
Building a custom gaming PC is a journey. It’s not just about the end result. The process itself is rewarding. You’ll learn a lot along the way.
Don’t hesitate to seek help. There are many resources available. Online forums and communities are full of knowledgeable people. They can provide advice and answer your questions.
Remember, everyone starts somewhere. Don’t be afraid to ask for help. The PC building community is supportive and welcoming. Enjoy the process and happy building!
Conclusion
Building your own custom gaming PC is an exciting journey. It’s a chance to create something truly unique. You’ll have a machine tailored to your gaming needs and preferences.
Remember, the process doesn’t end once your PC is built. Regular maintenance and upgrades will ensure your gaming PC stays in top shape. It’s a continuous learning experience.
In the end, the satisfaction of playing on a PC you built yourself is unmatched. It’s a rewarding experience that every gaming enthusiast should try at least once. Happy building!

